
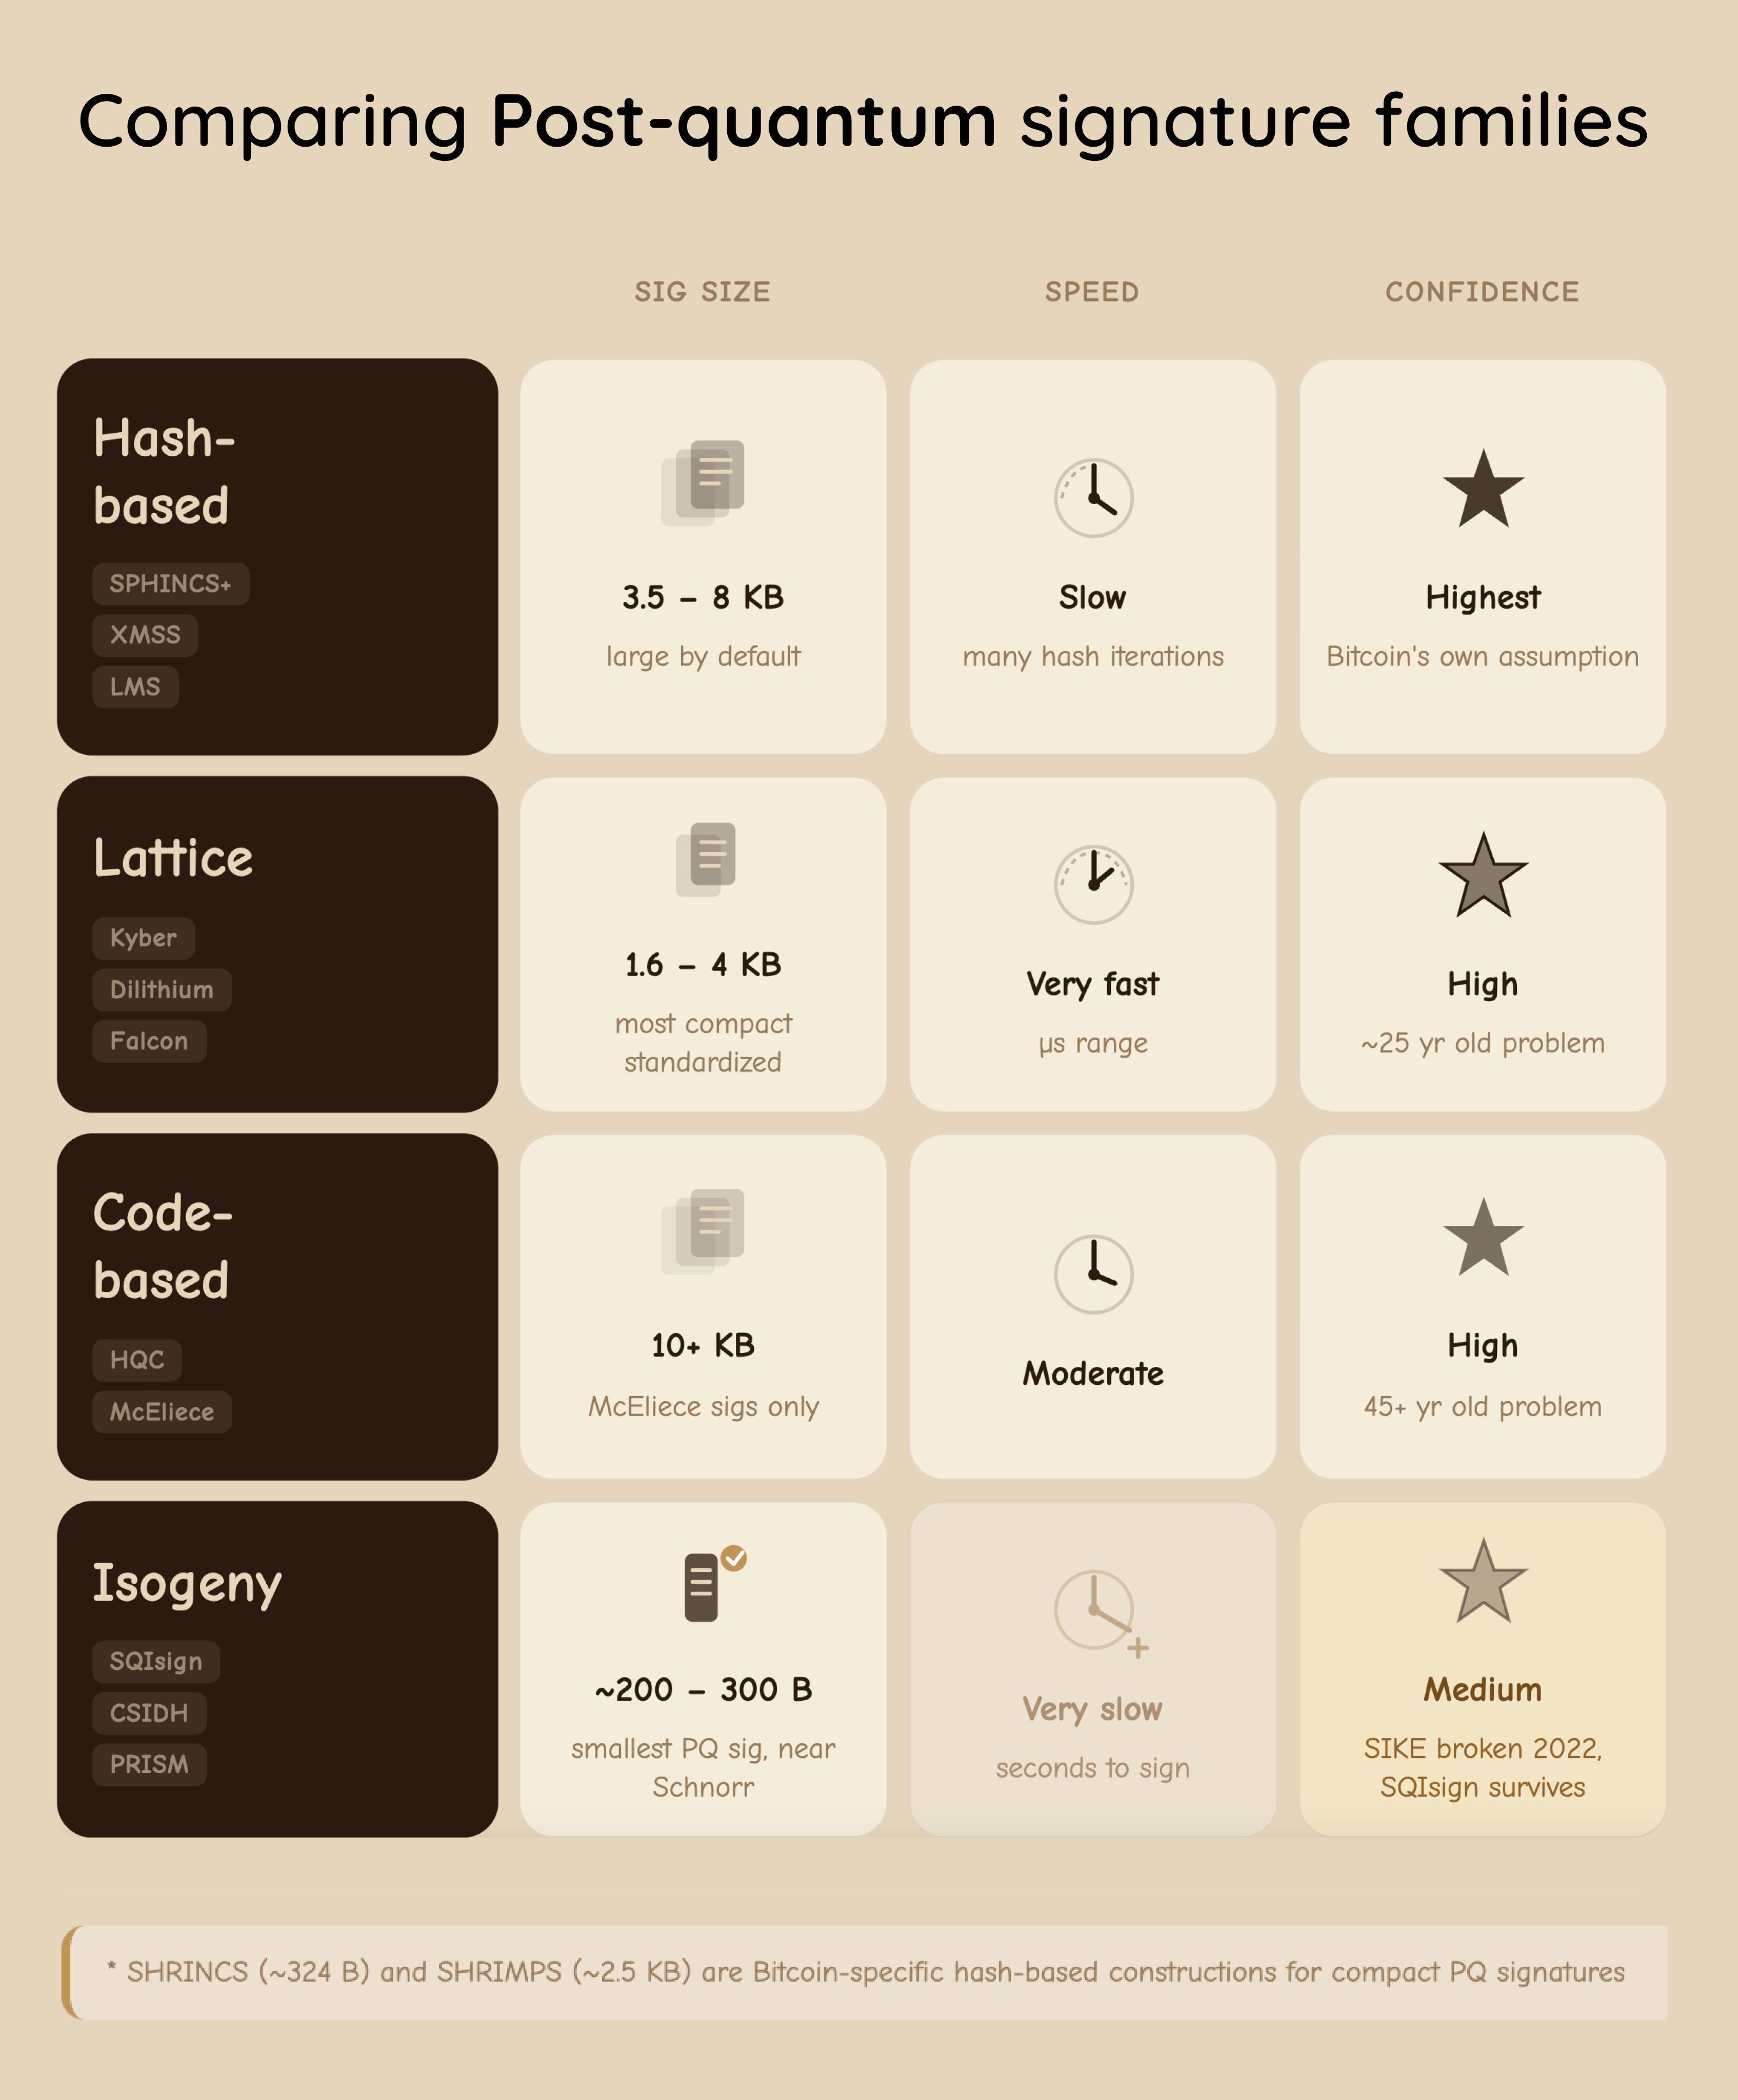
Interested in what #bitcoin could look like in a post #quantum world? As the community continues to research the optimal upgrade path, check out this comparison of post-quantum signature families:
- Hash-Based
- Lattice
- Code Based
- Isogeny
 Big thank you to @HRF for the opportunity to do this. We hope participants can take what they learned and use it to make projects more accessible to activists and other freedom fighters 🚀
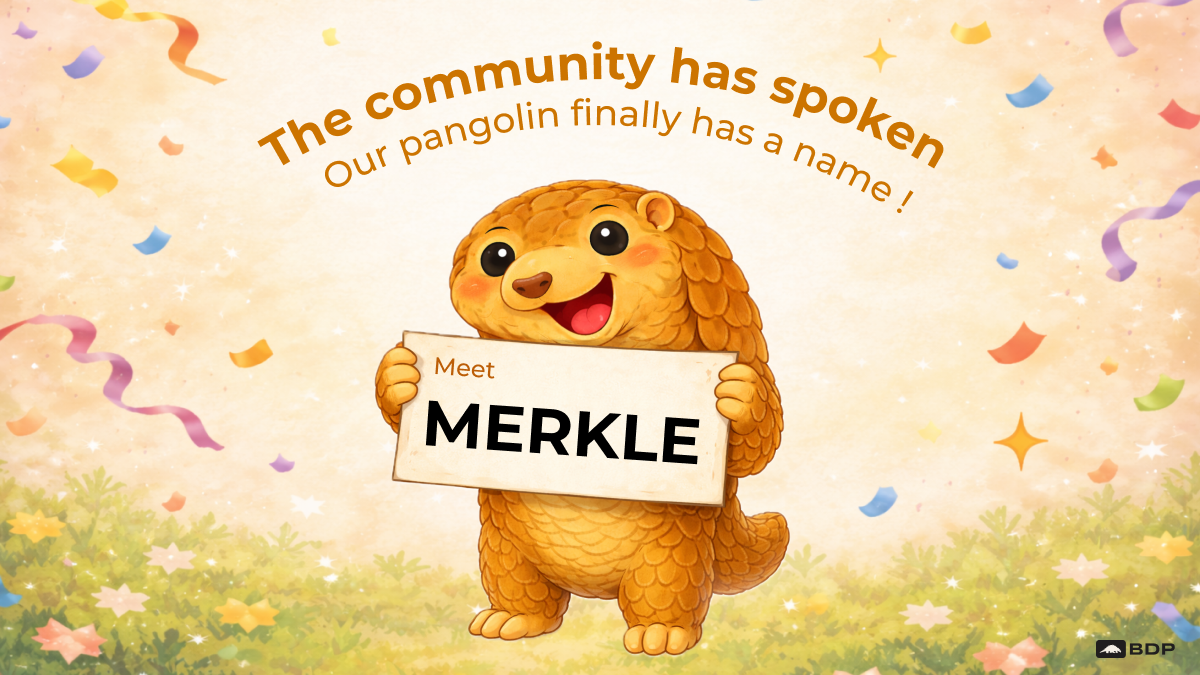 The pangolin mascot naming contest has a winner...
🎉👋 MEET MERKLE! 👋🎉
The name is a nod to the cryptographer Ralph Merkle who created a number of technologies that are fundamental to bitcoin.
He is most famous for co-inventing public key cryptography and creating the Merkle trees we all know and love.
Congratulations to @J.T. Woodhouse for submitting the winning entry on nostr. To celebrate, we will be releasing some special content on Merkle trees next month.
The runner up was Petunia 🌸 Honorable mentions go to those that submitted the names Scaly, Petey, Pauldron, Ronnie, Pangoshi, Bitsy, Nacho, Toshi, and Leroy. In the coming days we will be reaching out to you so we can send stickers your way!
Thanks everyone for your participation! The names you submitted were so good we may have to expand the Merkle family tree to include new friends 😉
The pangolin mascot naming contest has a winner...
🎉👋 MEET MERKLE! 👋🎉
The name is a nod to the cryptographer Ralph Merkle who created a number of technologies that are fundamental to bitcoin.
He is most famous for co-inventing public key cryptography and creating the Merkle trees we all know and love.
Congratulations to @J.T. Woodhouse for submitting the winning entry on nostr. To celebrate, we will be releasing some special content on Merkle trees next month.
The runner up was Petunia 🌸 Honorable mentions go to those that submitted the names Scaly, Petey, Pauldron, Ronnie, Pangoshi, Bitsy, Nacho, Toshi, and Leroy. In the coming days we will be reaching out to you so we can send stickers your way!
Thanks everyone for your participation! The names you submitted were so good we may have to expand the Merkle family tree to include new friends 😉
 Pangolins are solitary, curious creatures known for their armor-like scales & quiet determination. Like the best open-source contributors, they build, explore, & protect what matters. To us they represent the kind of thoughtful, persistent energy we see in bitcoin devs daily.
You have 10 days, until 2/26 to share your best, most clever, and imaginative names.
There is no limit to the amount of times you can enter. Let’s see those names!
Pangolins are solitary, curious creatures known for their armor-like scales & quiet determination. Like the best open-source contributors, they build, explore, & protect what matters. To us they represent the kind of thoughtful, persistent energy we see in bitcoin devs daily.
You have 10 days, until 2/26 to share your best, most clever, and imaginative names.
There is no limit to the amount of times you can enter. Let’s see those names!
 If this sounds like something you'd be interested in, sign up here 👇


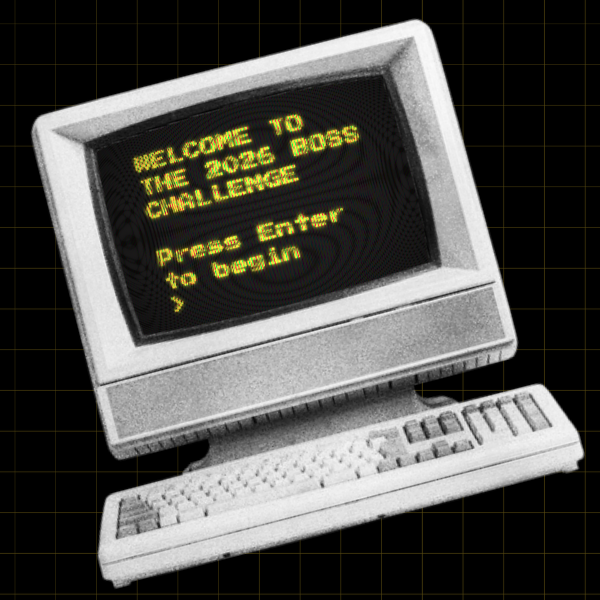 - - - - - - - - - - - - - - - - - - - - - - - - - - - - -
❓ HOW DOES IT WORK? ❓
The challenge kicks off the week of January 12
🗓️ 30 days to complete a series of code-based technical challenges
🛣️ 2 additional months for anyone willing to continue the adventure
If you are willing to do the work, we'll give you what you need to get to where you want to go.
- - - - - - - - - - - - - - - - - - - - - - - - - - - - -
🧑🤝🧑 LEARNING IS BETTER WITH FRIENDS 🧑🤝🧑
That’s why we’re delighted to announce ₿OSS Challenge partnerships with:
- @Btrust
- @bitshala
- @npub13vk4...m2ah
- @BOBSpace_BKK
- @Code Orange Dev School
- zzmjxy in China
- My Satoshis in Burundi
🌍 Live in one of these regions? Reach out to connect with others doing the ₿OSS Challenge!
- - - - - - - - - - - - - - - - - - - - - - - - - - - - -
Funding for bitcoin open source development is earned by demonstrating proof of work. There is no cheat code.
🧡 Come do the work and good things will happen. 🧡
The ₿OSS Challenge gives you structure while fostering the proactive, self-starter spirit that is required in open-source.
Join the challenge.
See how far you will go.
Change your life in 2026.
⏰ Applications close: December 31
🎯 Program begins: January 12
🌎 Open to everyone. Totally free.
Application: bosschallenge.xyz
#bitcoin
- - - - - - - - - - - - - - - - - - - - - - - - - - - - -
❓ HOW DOES IT WORK? ❓
The challenge kicks off the week of January 12
🗓️ 30 days to complete a series of code-based technical challenges
🛣️ 2 additional months for anyone willing to continue the adventure
If you are willing to do the work, we'll give you what you need to get to where you want to go.
- - - - - - - - - - - - - - - - - - - - - - - - - - - - -
🧑🤝🧑 LEARNING IS BETTER WITH FRIENDS 🧑🤝🧑
That’s why we’re delighted to announce ₿OSS Challenge partnerships with:
- @Btrust
- @bitshala
- @npub13vk4...m2ah
- @BOBSpace_BKK
- @Code Orange Dev School
- zzmjxy in China
- My Satoshis in Burundi
🌍 Live in one of these regions? Reach out to connect with others doing the ₿OSS Challenge!
- - - - - - - - - - - - - - - - - - - - - - - - - - - - -
Funding for bitcoin open source development is earned by demonstrating proof of work. There is no cheat code.
🧡 Come do the work and good things will happen. 🧡
The ₿OSS Challenge gives you structure while fostering the proactive, self-starter spirit that is required in open-source.
Join the challenge.
See how far you will go.
Change your life in 2026.
⏰ Applications close: December 31
🎯 Program begins: January 12
🌎 Open to everyone. Totally free.
Application: bosschallenge.xyz
#bitcoin
 🌿 🌿 🌿
How it began
In 2023, BDP was born from a desire to build for the developer ecosystem. We created efficiency boosting tools like Bitcoin Search and ChatBTC. From there, a suite of educational products and even games emerged with things like Decoding Bitcoin and Saving Satoshi. This past year we rounded our offerings out with the Common Application which helps contributors apply for funding.
🌿 🌿 🌿
How it began
In 2023, BDP was born from a desire to build for the developer ecosystem. We created efficiency boosting tools like Bitcoin Search and ChatBTC. From there, a suite of educational products and even games emerged with things like Decoding Bitcoin and Saving Satoshi. This past year we rounded our offerings out with the Common Application which helps contributors apply for funding.
 BDP has been lovingly designed to serve the developer community in a way that is approachable and encouraging, yet without compromising the hard work and discipline required of bitcoin development.
There is much more to bitcoin tech than what is seen at the surface. That is why we created BDP to be a place where you can grow your technical skills without the noise.
Anyone in the world should be able to participate in bitcoin development. If you do the work, BDP is there to help you reach your goals.
BDP has been lovingly designed to serve the developer community in a way that is approachable and encouraging, yet without compromising the hard work and discipline required of bitcoin development.
There is much more to bitcoin tech than what is seen at the surface. That is why we created BDP to be a place where you can grow your technical skills without the noise.
Anyone in the world should be able to participate in bitcoin development. If you do the work, BDP is there to help you reach your goals.
 🌿 🌿 🌿
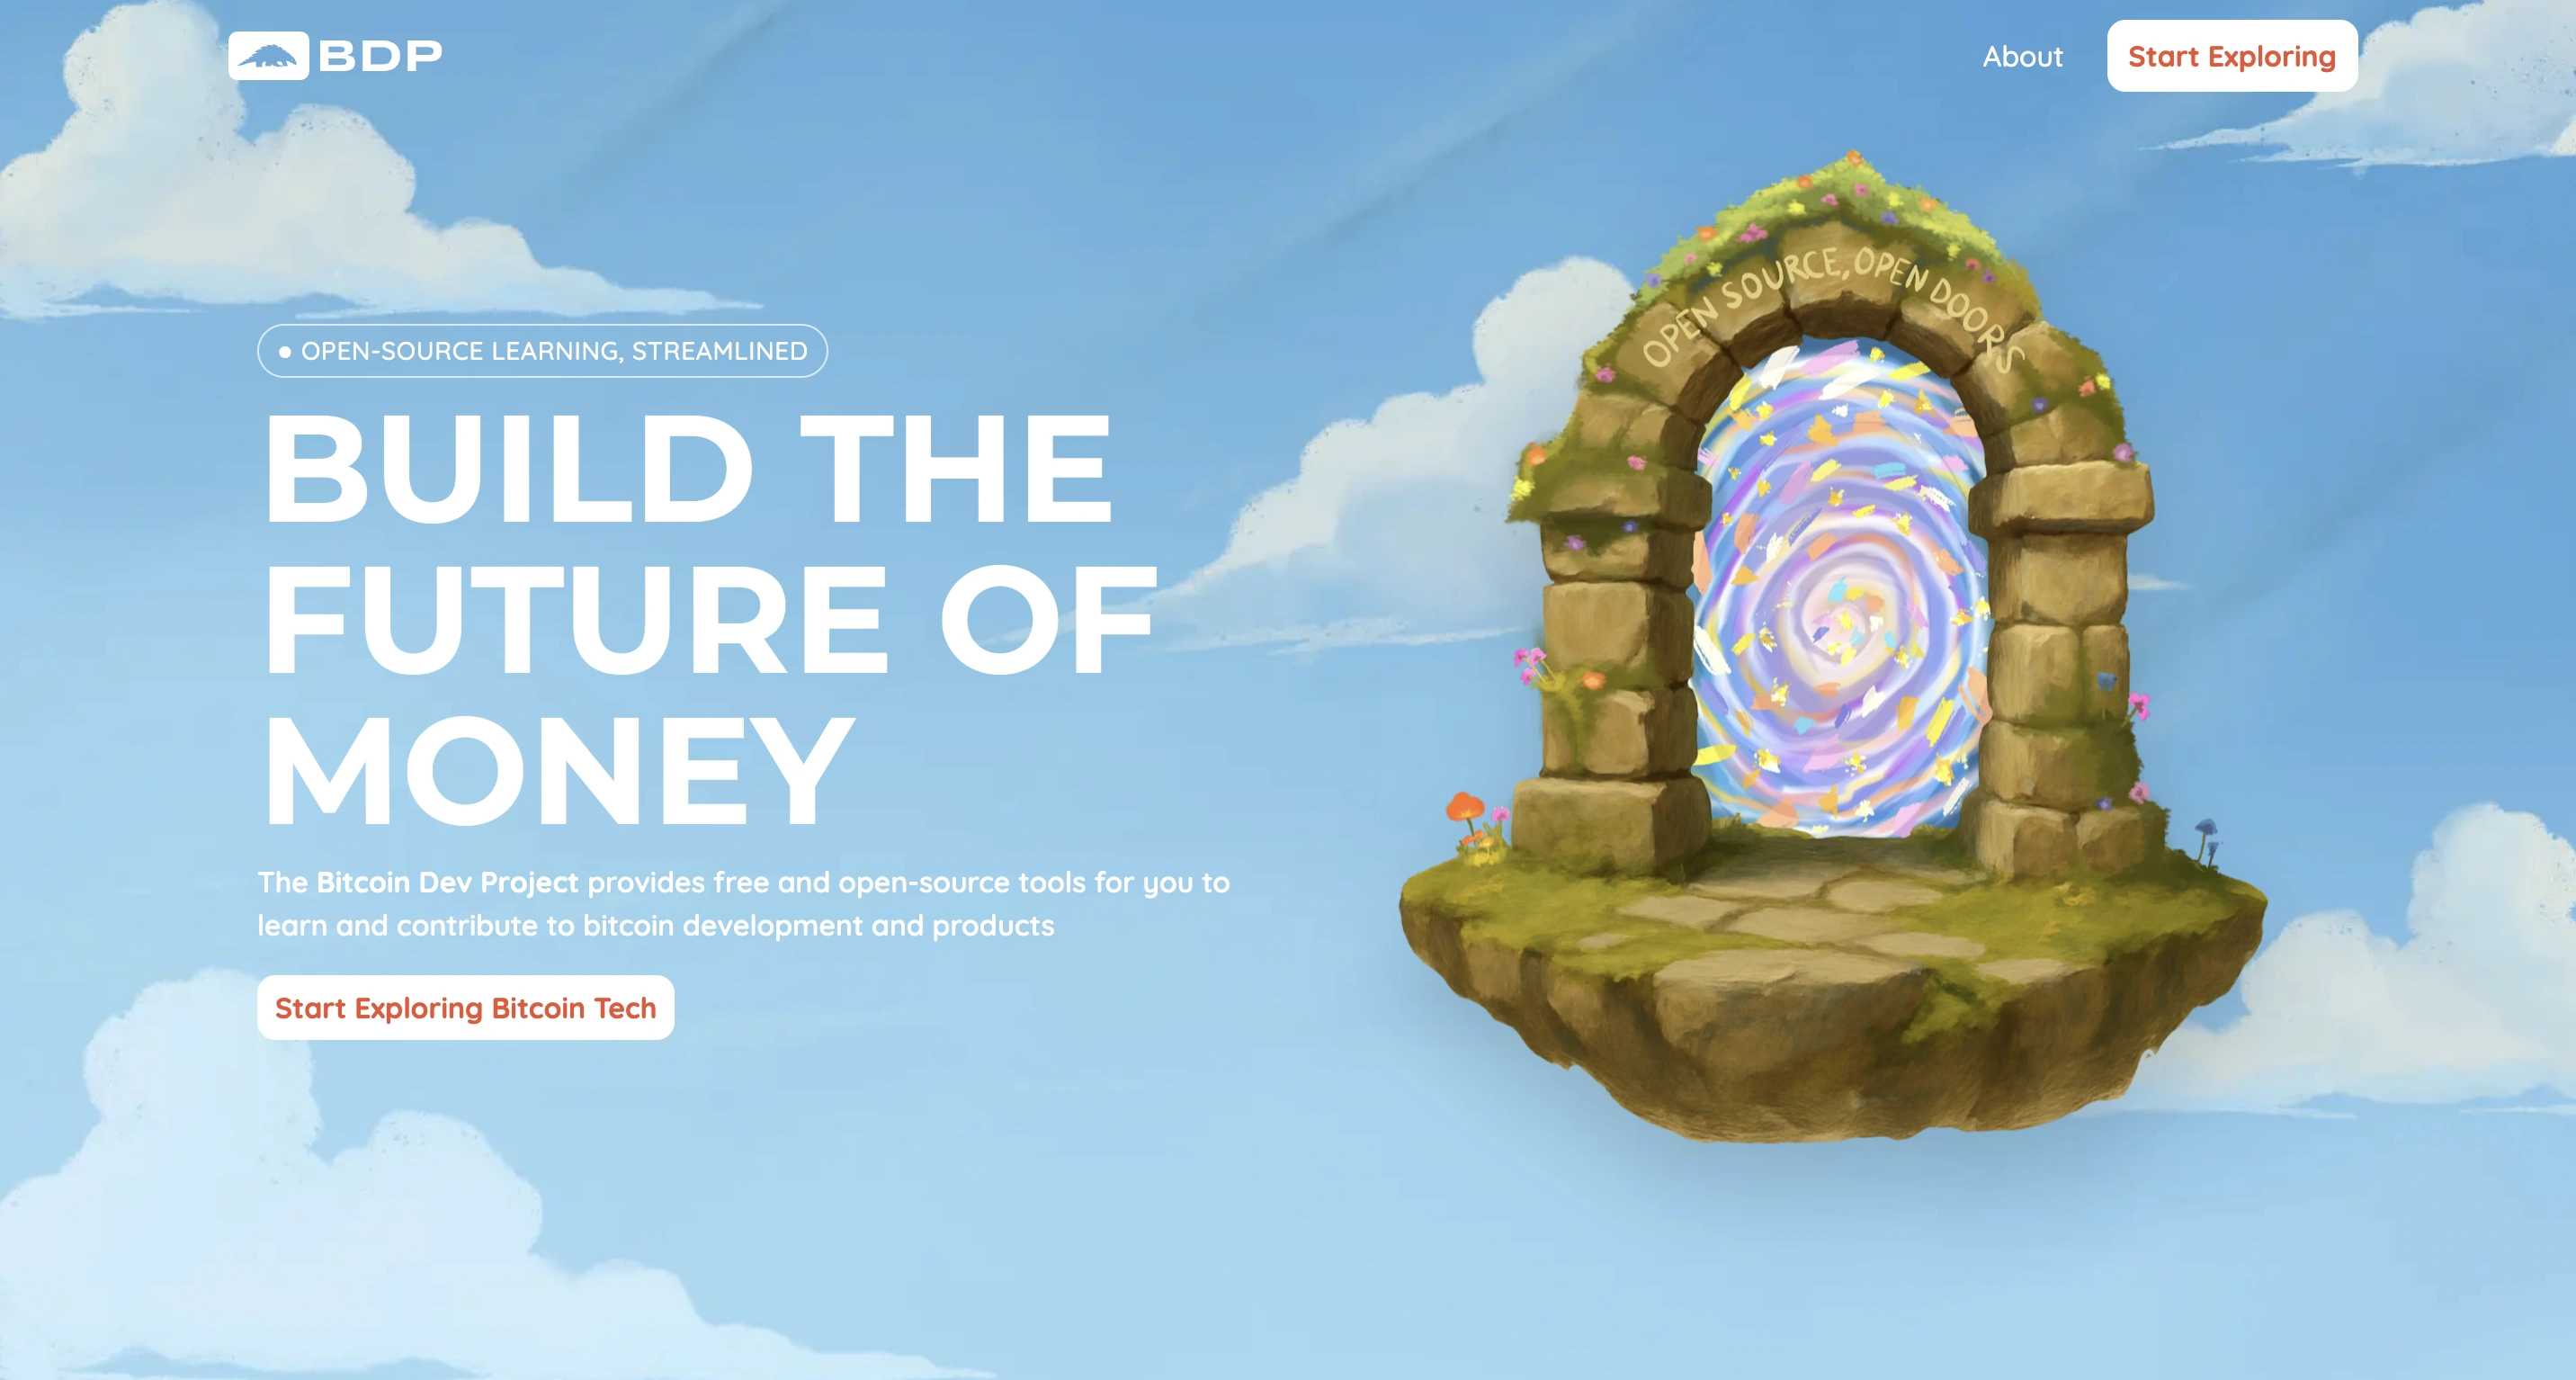
A reimagined website
You’ve seen the logo but that’s not all. This makeover goes far beyond that. Instead, the BDP website has been completely reimagined to deliver more moments of delight, improved navigation, and easy access to our tools and resources.
The new illustrations, icons, and vibrant color palette are all inspired by the pangolin’s natural habitat. With an earthy, nature-inspired theme, the website is warm and inviting, reflecting BDP’s goal of being a welcoming entry point into bitcoin development.
🌿 🌿 🌿
A reimagined website
You’ve seen the logo but that’s not all. This makeover goes far beyond that. Instead, the BDP website has been completely reimagined to deliver more moments of delight, improved navigation, and easy access to our tools and resources.
The new illustrations, icons, and vibrant color palette are all inspired by the pangolin’s natural habitat. With an earthy, nature-inspired theme, the website is warm and inviting, reflecting BDP’s goal of being a welcoming entry point into bitcoin development.
 Despite all the changes, you’ll still find the things you have come to expect from BDP: learning material, developer tools, and funding guidance. BDP provides new opportunities for you to explore and take meaningful steps toward becoming a bitcoin developer.
 🌿 🌿 🌿
Design secrets
For more on how the logo and website came to life, check out this blog post by our amazing designer Sanya.
https://medium.com/@bitcoindevs/glow-up-95008146d653
🌿 🌿 🌿
Design secrets
For more on how the logo and website came to life, check out this blog post by our amazing designer Sanya.
https://medium.com/@bitcoindevs/glow-up-95008146d653


 Ishaana taught herself C++ in high school and became the youngest contributor to Bitcoin Core in the process. She is now a freshman at MIT and president of the MIT Bitcoin Club.
Congrats Ishaana! Her story shows that even as a student you can make meaningful contributions to bitcoin.
Ready to apply for the scholarship? Click the link below!👇
Ishaana taught herself C++ in high school and became the youngest contributor to Bitcoin Core in the process. She is now a freshman at MIT and president of the MIT Bitcoin Club.
Congrats Ishaana! Her story shows that even as a student you can make meaningful contributions to bitcoin.
Ready to apply for the scholarship? Click the link below!👇