#Bitcoin fixes this


 Now we come to the setup which is just as simple.
In my case, I'll explain the setup on Windows, but I don't think it will be really different on IOS.
Go to the page
Now we come to the setup which is just as simple.
In my case, I'll explain the setup on Windows, but I don't think it will be really different on IOS.
Go to the page
 Next we unpack this ZIP with WinRAR (
 In the following step we go again to the Github website and scroll down until we see the section 'Flash Firmware' and click there on the deposited link in point 3. (or this one is the same : https://espressif.github.io/esptool-js/)
 A new web page will open. Now you should connect your Nerdminer to the PC to establish a connection. If you run into problems at this point, there's definitely someone on #Nostr ready to help.
On the web page you will see a dropdown menu behind the word Baudrate (https://en.wikipedia.org/wiki/Baud) and the button 'Connect'.
Set the baudrate to 115200 and click on Connect.
The connection should be established now, as you can see in the console.
A new web page will open. Now you should connect your Nerdminer to the PC to establish a connection. If you run into problems at this point, there's definitely someone on #Nostr ready to help.
On the web page you will see a dropdown menu behind the word Baudrate (https://en.wikipedia.org/wiki/Baud) and the button 'Connect'.
Set the baudrate to 115200 and click on Connect.
The connection should be established now, as you can see in the console.
 Now it gets a bit tricky.
You add the four files one after the other, that means you go to select file and add the first one, then you press 'add file' and add the next one until all 4 are deposited.🛑STOP🛑
Do NOT press 'Program' yet!
Now it gets a bit tricky.
You add the four files one after the other, that means you go to select file and add the first one, then you press 'add file' and add the next one until all 4 are deposited.🛑STOP🛑
Do NOT press 'Program' yet!


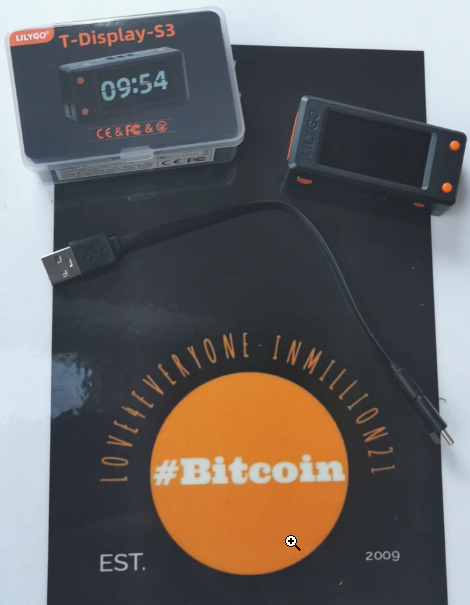
 Your nerdy NerdMiner should now show this image after restarting.
Also here BitMaker has made it very easy for noobs. Either use the QR code to connect the #NerdMiner to your smartphone, or search for the Wi-Fi network 'NerdMinerAP'.
Your nerdy NerdMiner should now show this image after restarting.
Also here BitMaker has made it very easy for noobs. Either use the QR code to connect the #NerdMiner to your smartphone, or search for the Wi-Fi network 'NerdMinerAP'.
 After logging in, you will see this window on your smartphone or other WLAN-enabled device with which you have connected. Select your Wi-Fi network and enter the key.
At the bottom, enter your desired wallet (NotYourKeysNotYourCoins) and press 'Save'.
After logging in, you will see this window on your smartphone or other WLAN-enabled device with which you have connected. Select your Wi-Fi network and enter the key.
At the bottom, enter your desired wallet (NotYourKeysNotYourCoins) and press 'Save'.
 The Solo Pool
 And if anyone would like to thank me, please feel free to do so :
#V4V
brainedwards@getalby.com = #Zapped
thirdasia54@walletofsatoshi.com
34w4RR1h6onof9qdD1gB949bvbgDxNnDKo
Or LN tips
LNURL1DP68GURN8GHJ7MRW9E6XJURN9UH8WETVDSKKKMN0WAHZ7MRWW4EXCUP0X9UXGDPKVGCNYDN9VVUR2VN9X5URX9XJD2A
And if anyone would like to thank me, please feel free to do so :
#V4V
brainedwards@getalby.com = #Zapped
thirdasia54@walletofsatoshi.com
34w4RR1h6onof9qdD1gB949bvbgDxNnDKo
Or LN tips
LNURL1DP68GURN8GHJ7MRW9E6XJURN9UH8WETVDSKKKMN0WAHZ7MRWW4EXCUP0X9UXGDPKVGCNYDN9VVUR2VN9X5URX9XJD2A